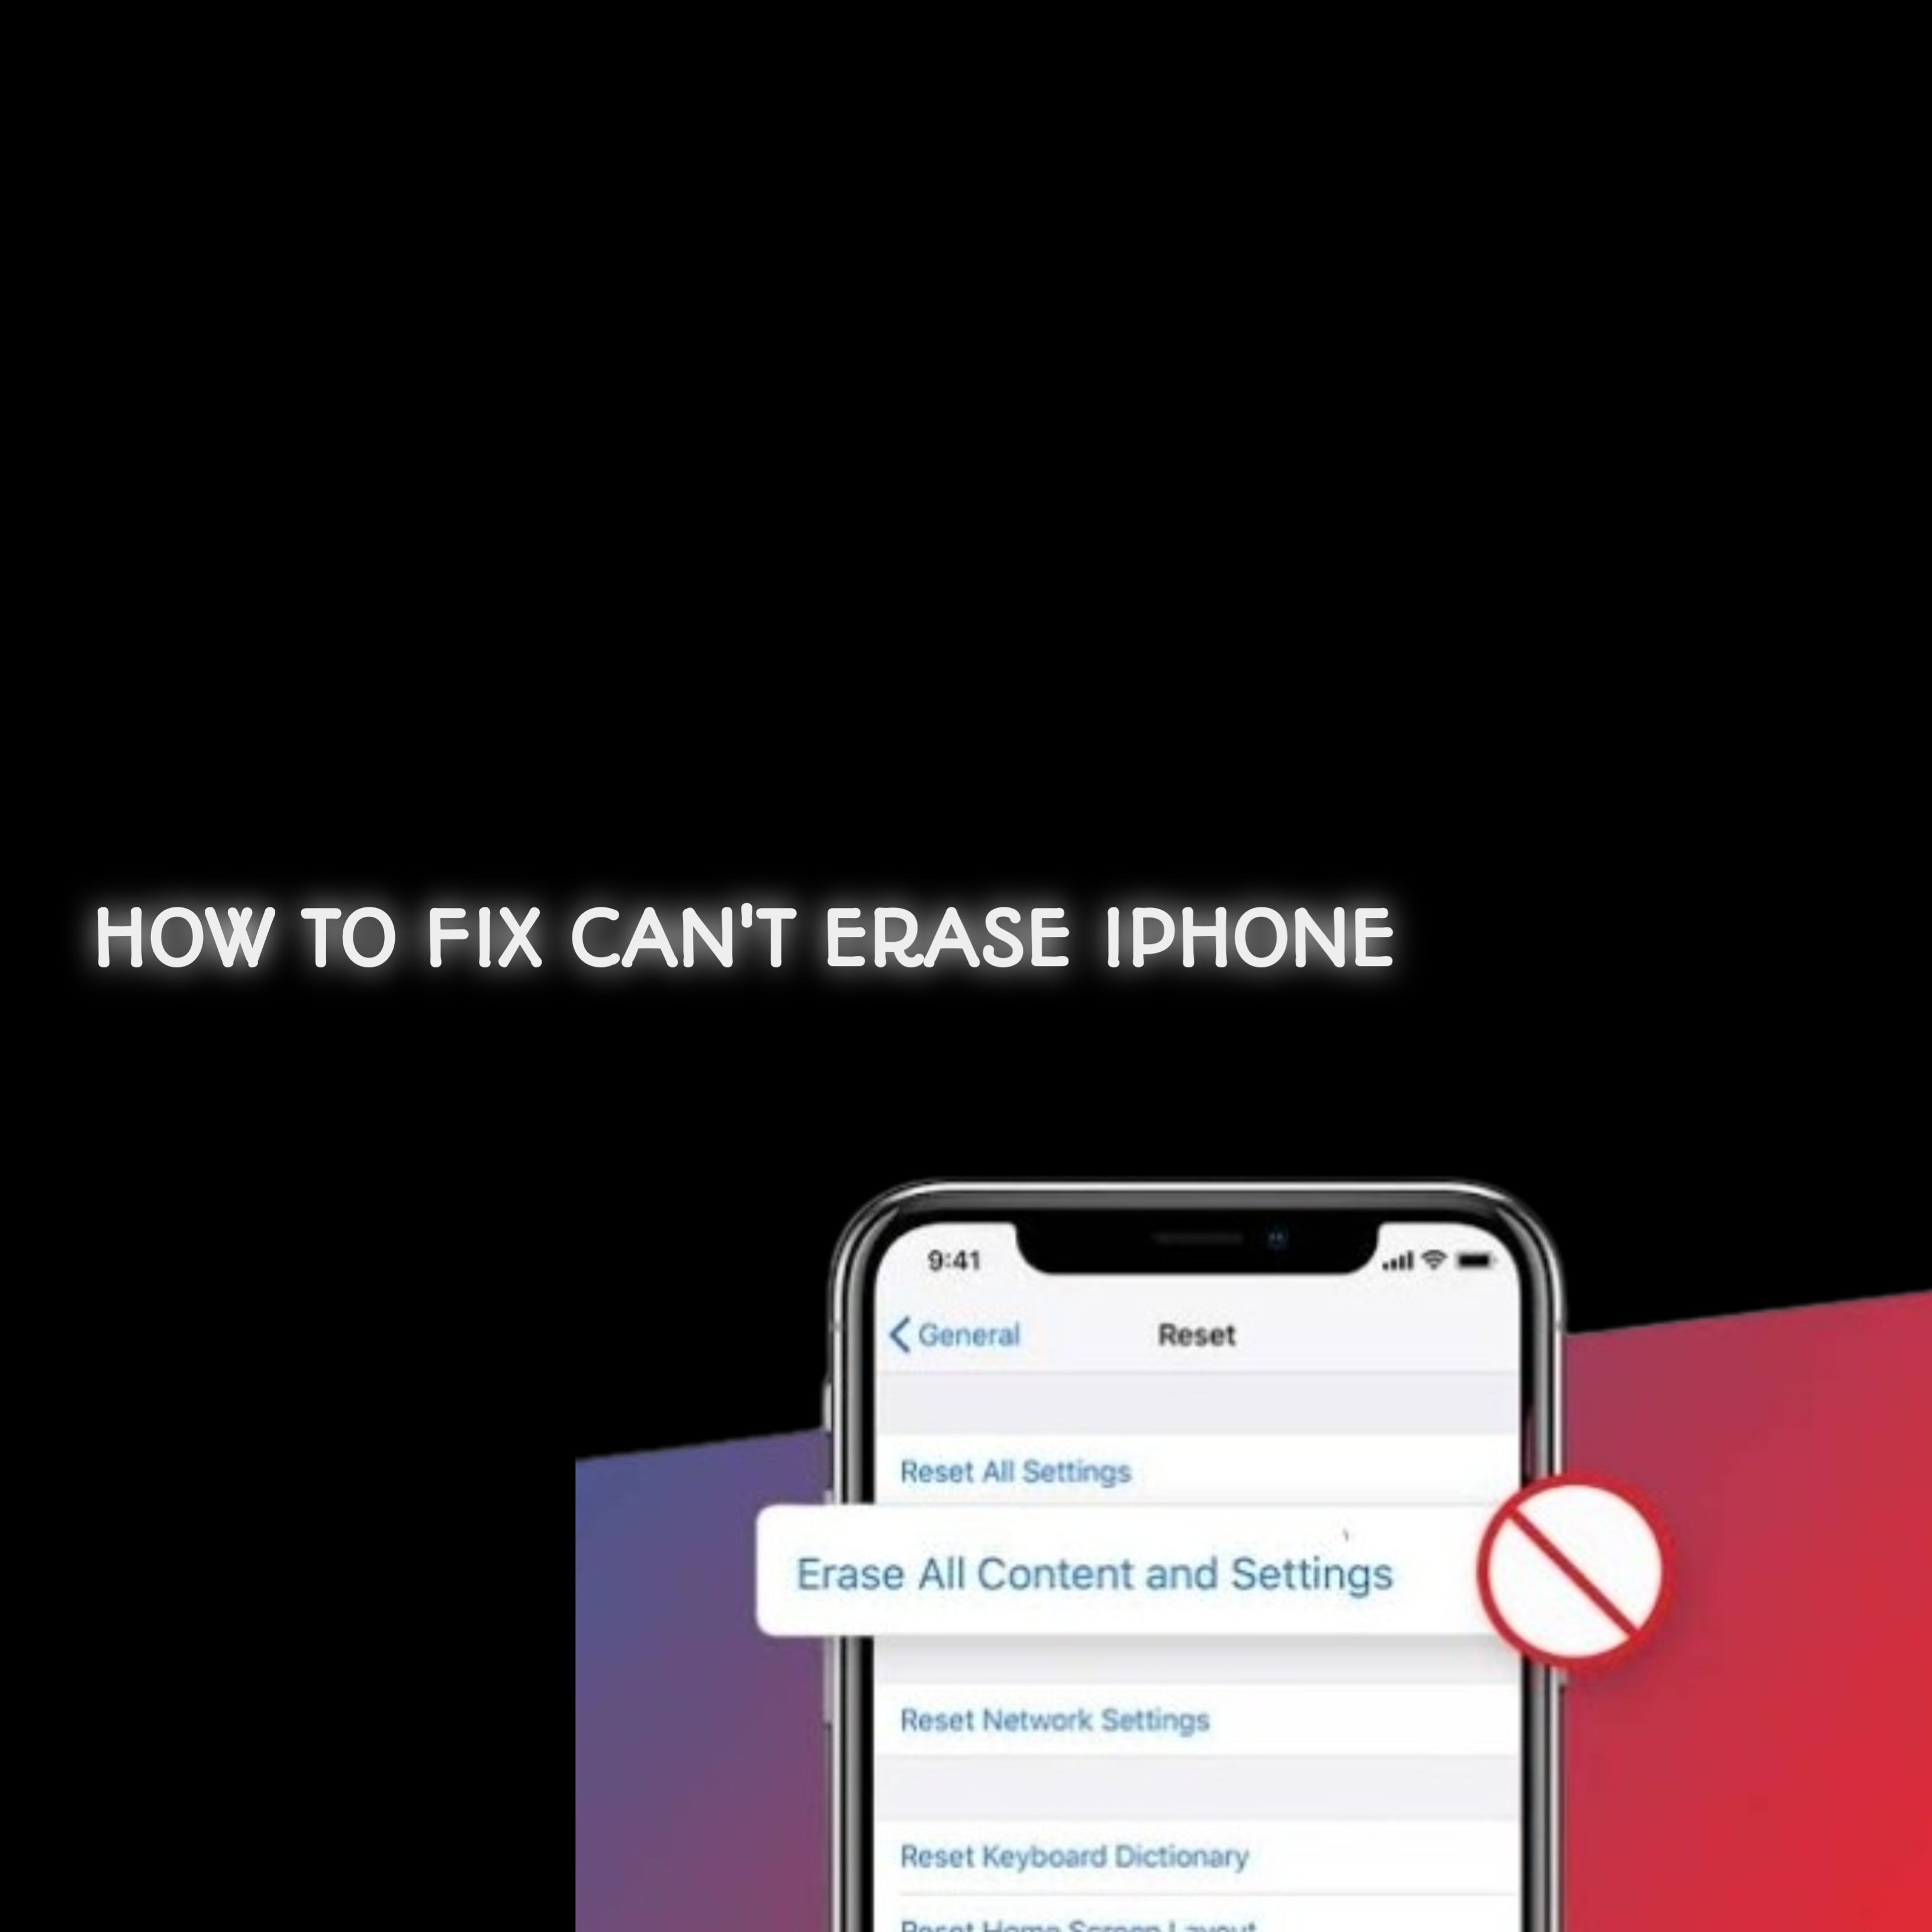
Are you trying to erase your iPhone but keep running into issues? Whether you’re preparing to sell your device, troubleshooting a persistent problem, or simply starting fresh, erasing your iPhone should be a straightforward process. However, errors like activation locks, forgotten passwords, or software glitches can complicate things. In this guide, we’ll walk you through the steps to fix the “can’t erase iPhone” problem quickly and easily.
Common Reasons You Can’t Erase Your iPhone
Several factors can prevent you from erasing your iPhone. Here are the most common ones:
- Activation Lock Enabled: This security feature requires your Apple ID credentials to be disabled, protecting your device from unauthorized access.
- Forgotten Apple ID Password: If you don’t know your Apple ID password, you can’t proceed with the erase process.
- Restrictions or Screen Time Settings: Parental controls or device management profiles can block the erasure process.
- Software Bugs or Glitches: Outdated or corrupted iOS can lead to errors during the erasure process.
Pre-Steps Before Erasing Your iPhone
Before attempting to erase your iPhone, take these essential preparatory steps to avoid data loss or further complications:
1. Backup Your Data
Backing up ensures that your data is safe. Here’s how:
- Using iCloud: Go to Settings → [Your Name] → iCloud → iCloud Backup → Back Up Now.
- Using iTunes/Finder: Connect your iPhone to your computer, open iTunes (or Finder on macOS Catalina and later), select your device, and choose “Back Up Now.”
2. Turn Off Find My iPhone
Disabling this feature is crucial:
- Go to Settings → [Your Name] → Find My → Find My iPhone → Toggle Off.
- Enter your Apple ID password to confirm.
3. Sign Out of iCloud
Ensure you’re signed out of iCloud to avoid issues with Activation Lock:
- Go to Settings → [Your Name] → Sign Out.
- Enter your Apple ID password and follow the prompts.
4. Ensure Sufficient Battery
Charge your device to at least 50% to prevent interruptions during the process.
Solutions to Fix ‘Can’t Erase iPhone’
If you’ve completed the pre-steps and still can’t erase your iPhone, try these solutions:
1. Restart Your iPhone
A simple restart can resolve temporary glitches.
- For iPhone X or later: Press and hold the side button and either volume button until the slider appears. Slide to power off, then turn the device back on.
- For older models: Press and hold the power button until the slider appears.
2. Update Your iOS
Updating iOS can fix bugs that prevent erasure.
- Go to Settings → General → Software Update → Download and Install.
- Alternatively, connect your iPhone to a computer and update via iTunes/Finder.
3. Use Settings to Erase
Follow these steps to erase your iPhone directly:
- Go to Settings → General → Reset or Transfer → Erase All Content and Settings.
- Confirm your choice and enter your Apple ID credentials.
4. Use Recovery Mode (If Normal Erasure Fails)
Recovery mode is a reliable method to erase your iPhone when other options fail:
- Connect to a Computer: Use a Lightning cable to connect your iPhone to a computer.
- Enter Recovery Mode:
- For iPhone 8 or later: Quickly press and release the Volume Up button, then Volume Down, and hold the side button until the recovery mode screen appears.
- For iPhone 7: Press and hold the Volume Down and Side buttons together.
- For iPhone 6s and earlier: Hold the Home and Power buttons together.
- Restore the Device: Open iTunes/Finder and choose “Restore iPhone.” Follow the prompts to erase and restore your device.
5. Use Third-Party Tools (As a Last Resort)
If the above methods don’t work, you can try third-party tools like:
- Tenorshare ReiBoot
- iMyFone Fixppo
- Dr.Fone – Repair
These tools provide additional options to fix stubborn issues. Ensure you download them from trusted sources.
How to Avoid Issues When Erasing Your iPhone in the Future
- Keep iOS Updated: Regular updates help prevent software bugs.
- Remember Apple ID Credentials: Save your login details securely.
- Backup Regularly: This ensures you won’t lose important data.
- Disable Activation Lock Early: Turn off Find My iPhone before selling or giving away your device.
FAQs
Q: Why can’t I erase my iPhone even after turning off Find My iPhone?
A: This could be due to software glitches, incomplete sign-out from iCloud, or restrictions enabled on the device.
Q: What happens if I force-erase my iPhone using recovery mode?
A: Recovery mode will erase all data, but you’ll still need your Apple ID credentials to reactivate the device.
Q: Can I erase my iPhone without Apple ID credentials?
A: No, Apple’s security measures require the correct credentials to erase and reactivate the device.
Conclusion
Erasing your iPhone doesn’t have to be stressful. By following the steps outlined in this guide, you can overcome common obstacles and successfully reset your device. If you still encounter problems, consider contacting Apple Support for further assistance.
